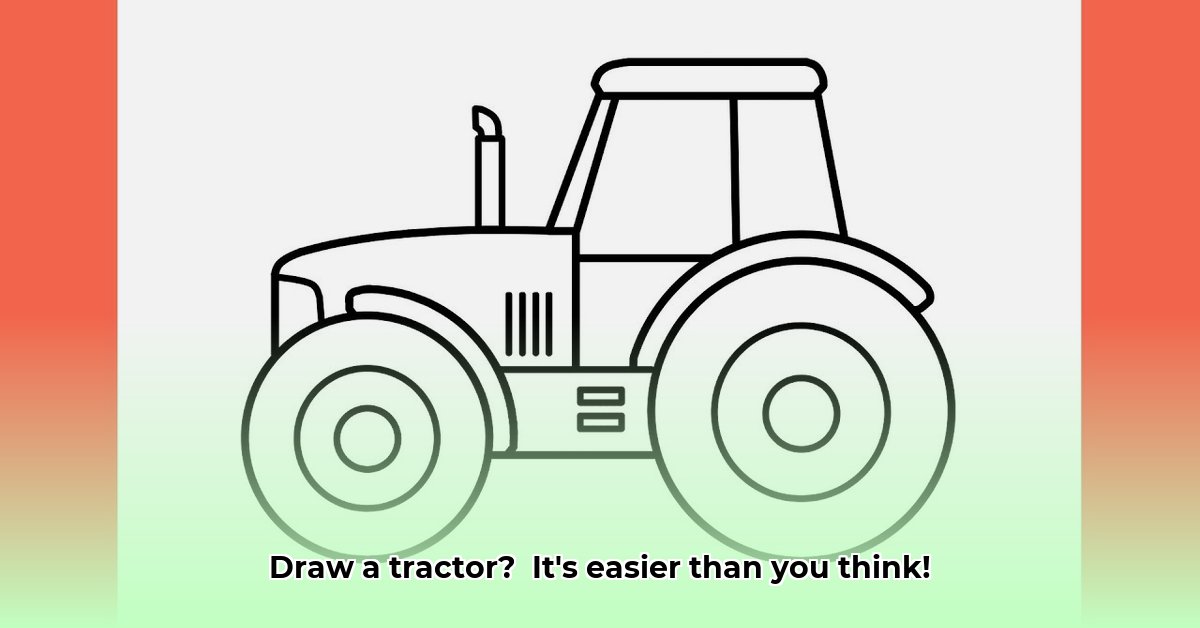
Want to learn how to draw a super cool tractor? This guide shows you two fun and easy ways, perfect for kids of all ages! One method is super quick, the other lets you get really detailed. We’ll use simple shapes and show you how to add fun details, like cool colors. Let's get started! For even more tractor fun, check out these wooden toy tractors.
Method 1: The Speedy Tractor – Zoom!
This method is all about speed and simplicity. Perfect for younger kids (or anyone short on time)!
Rectangle Power! Begin by drawing a long rectangle. This will be your tractor's body.
Wheely Good Wheels! Add two large circles underneath your rectangle – these are the wheels.
Caboose! Draw a smaller square or rectangle on top of the main body. This is the driver's cab.
Finishing Touches! Add a short, straight line poking out the back for the exhaust pipe. Maybe add a tiny square for a window!
Color Explosion! Grab your crayons, markers, or paints and color your tractor! Red? Blue? Green? Go wild! Add stripes, spots, or crazy patterns!
Pros: This method is super fast and easy, perfect for short attention spans. It requires minimal supplies and is suitable for even the youngest artists.
Cons: The design is simple, and older children might find it too easy.
Method 2: The Detailed Tractor – Level Up!
This method is for budding engineers who love details! It takes a bit more time and focus, but the result is awesome.
Shape Builders: Start with simple shapes: a large rectangle for the main body, smaller rectangles for the cab, and smaller circles for the wheels.
Adding Curves and Character: Slightly curve the top of the main body rectangle to create a hood. Add details to the wheels – spokes or tire treads. Define the cab with lines for windows and a door.
Extra Features!: Draw an exhaust pipe. You could even add a hitch (the part at the back where you hook up a trailer).
Fine-Tuning: Add finishing touches: headlights, a grill, and a steering wheel. Remember, there are many types of tractors!
The Grand Finale: Coloring! Use different shades and colors! Add a cool design or pattern. Get creative!
Pros: This method creates a detailed, impressive tractor. It's great for older kids and helps develop fine motor skills and patience.
Cons: This method requires more time and concentration, and might be tricky for very young children.
Which Method is Right for You?
Both methods are fantastic! The Speedy Tractor is quick and easy for younger children. The Detailed Tractor offers a challenging (but rewarding!) experience for older children. Try both and see which you prefer! The most important thing is to have fun and let your imagination run wild! There's no wrong way to draw a tractor – just your own unique version!
Key Differences & Actionable Advice
Both methods teach children to draw tractors, but they cater to different skill levels and learning styles. The Speedy Tractor method is ideal for younger children or those new to drawing, focusing on quick, fun results. The Detailed Tractor method challenges older children, encouraging precision and detail-orientation. Parents and educators should select the method based on the child's age and artistic experience. For a mixed-age group, offering both methods allows children to choose the level of challenge they are comfortable with. Remember to emphasize the creative process and celebrate each child's unique creation. Drawing is all about having fun and expressing yourself!